Setting up Tinyauth with Google OAuth
Tinyauth has builtin support for Google OAuth and it is extremely easy to set up. It's a bit harder than Github but with this guide you should be up and running in less than 10 minutes. Let's get started!
Requirements
In order to set it up you need the following requirements:
- A valid domain (e.g.
.com,org,.work),.localwill not work. - A Google account.
Create the Google OAuth app
To begin with, we need to create an app in Google. This can be done by visiting the Google Cloud Console here. There you need to create a new project (you should already have one by default). You should see a screen like this:
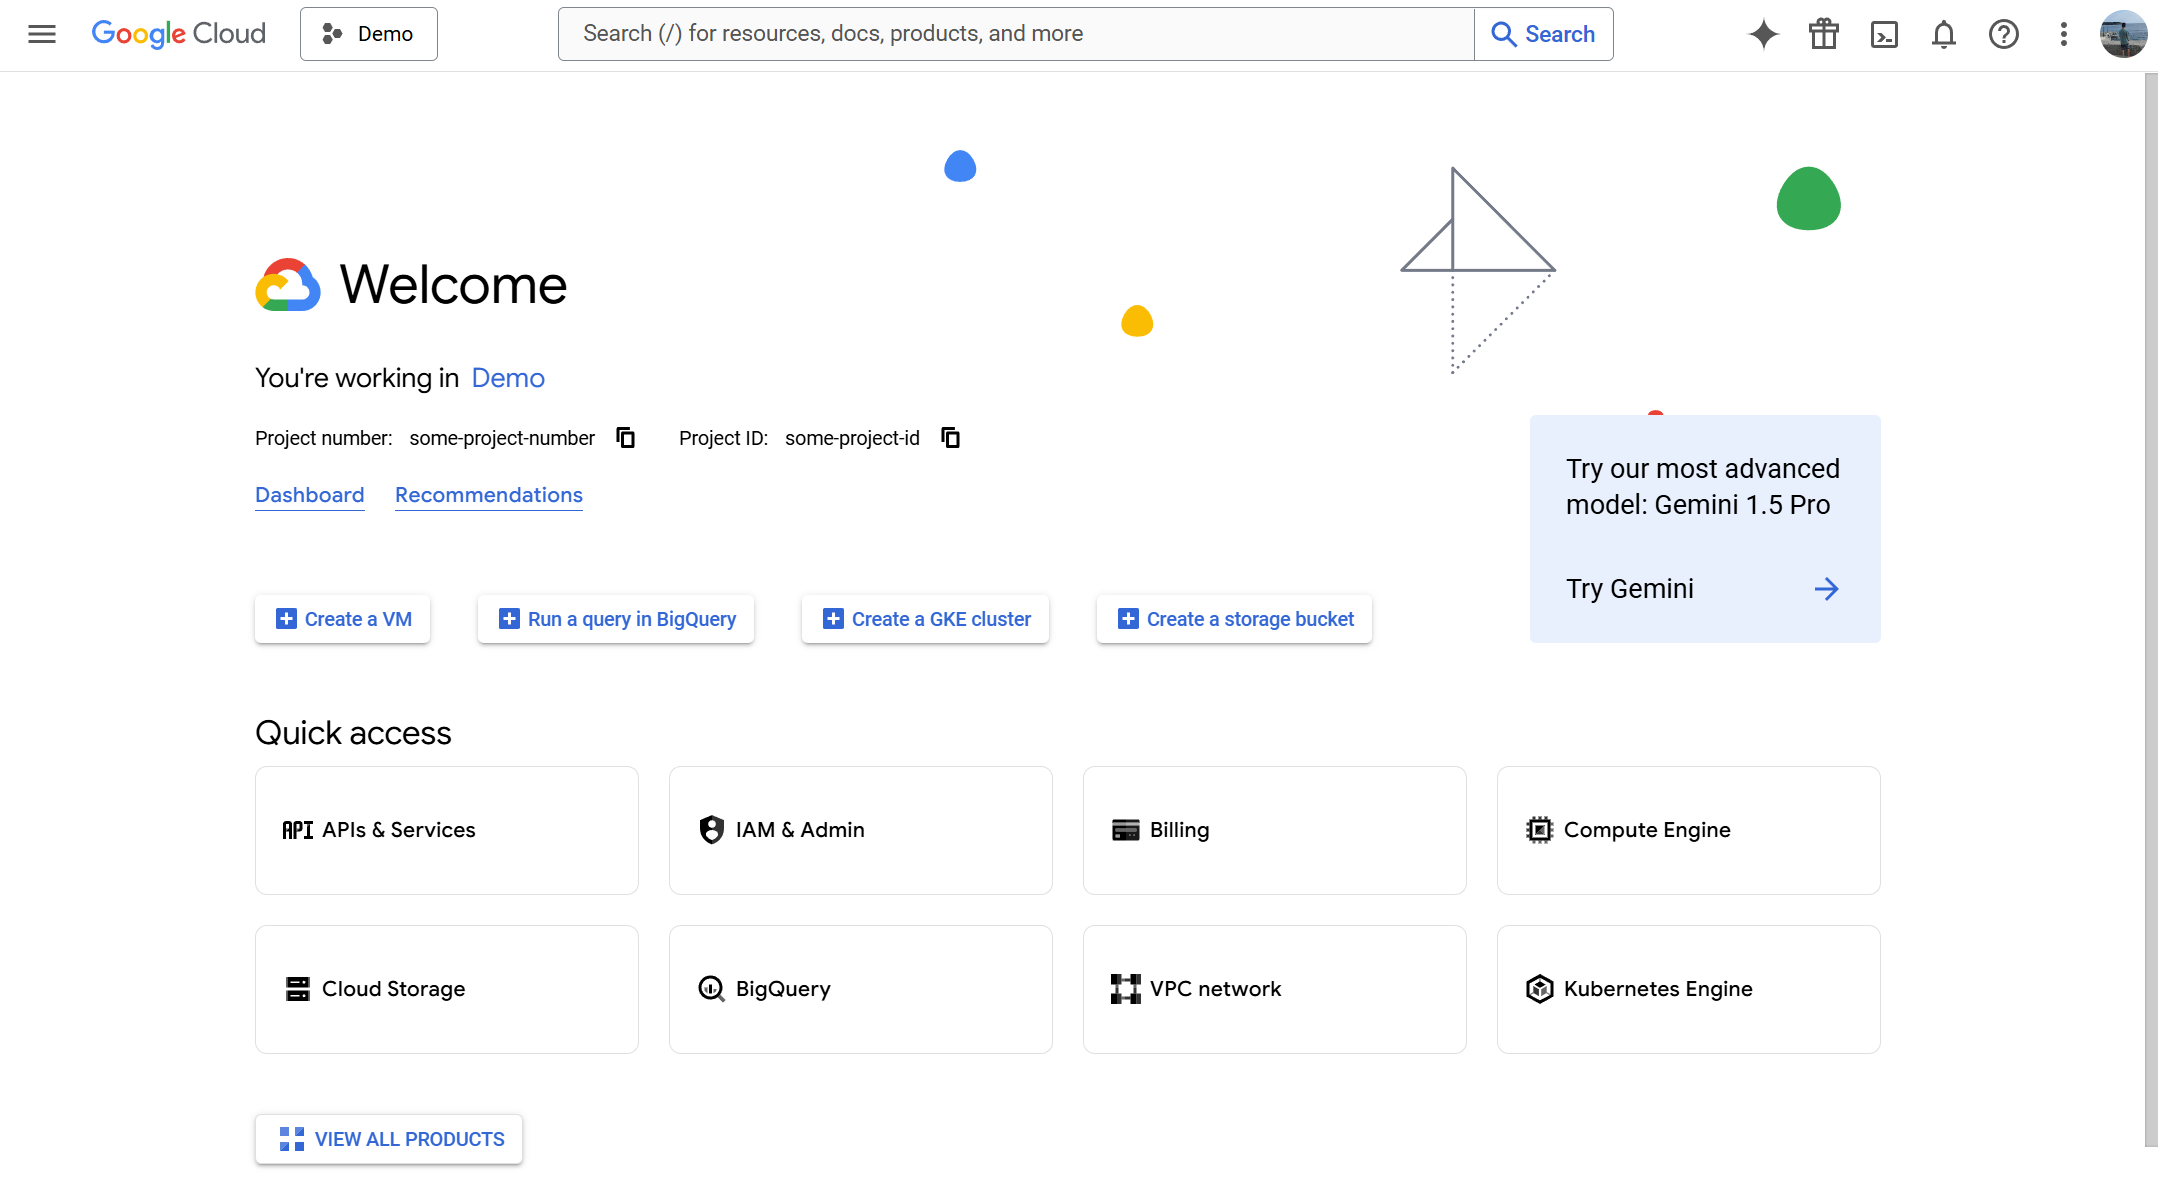
From the quick access menu click APIs & Services and then from the sidebar click OAuth consent screen. There it should just have a button in the middle saying Get Started, let's click that.
INFO
Google has changed the OAuth section and this guide uses the new OAuth experience. If you see a button saying try the new OAuth experience please click it so that the guide looks the same as the Google Cloud Console.
After clicking the button you should see this screen:
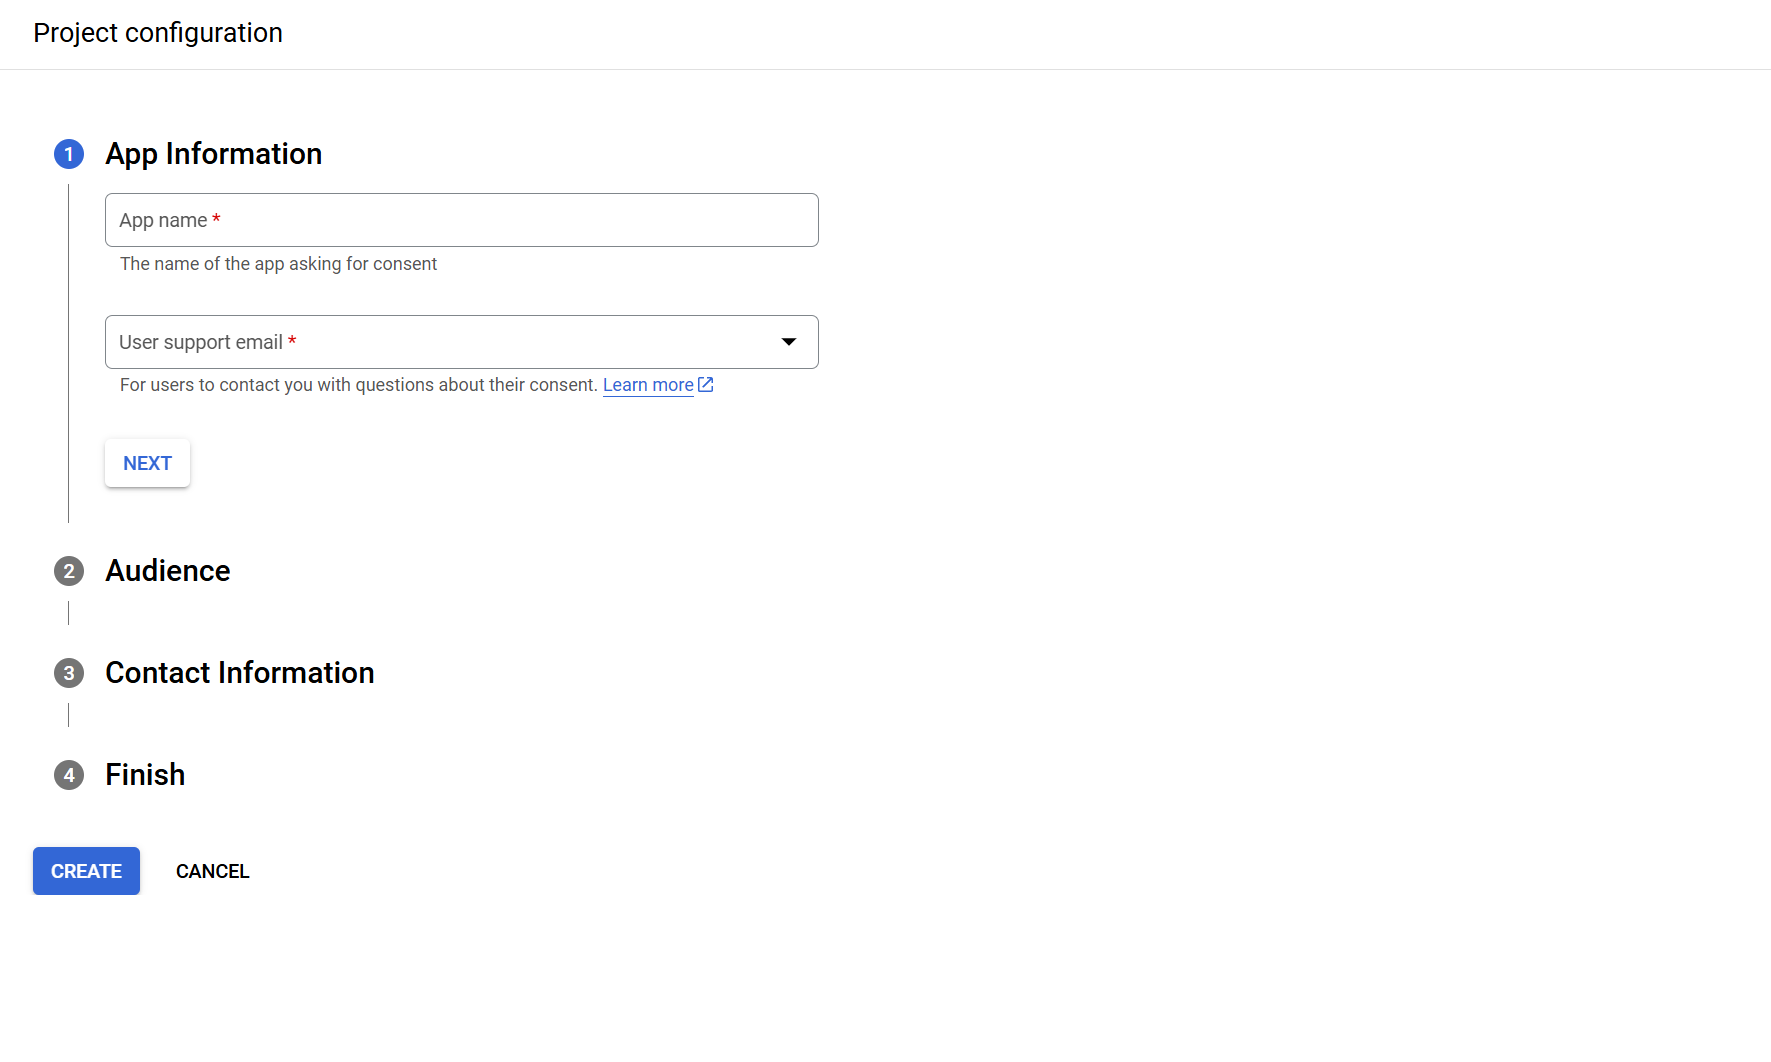
There for app name just use Tinyauth and for support email the only option should be your email address.
For audience use the only available type which is External.
For contact information, fill in your email address.
Finally agree to the use data policy and click Create. After some time you should see the OAuth homepage which looks like this:
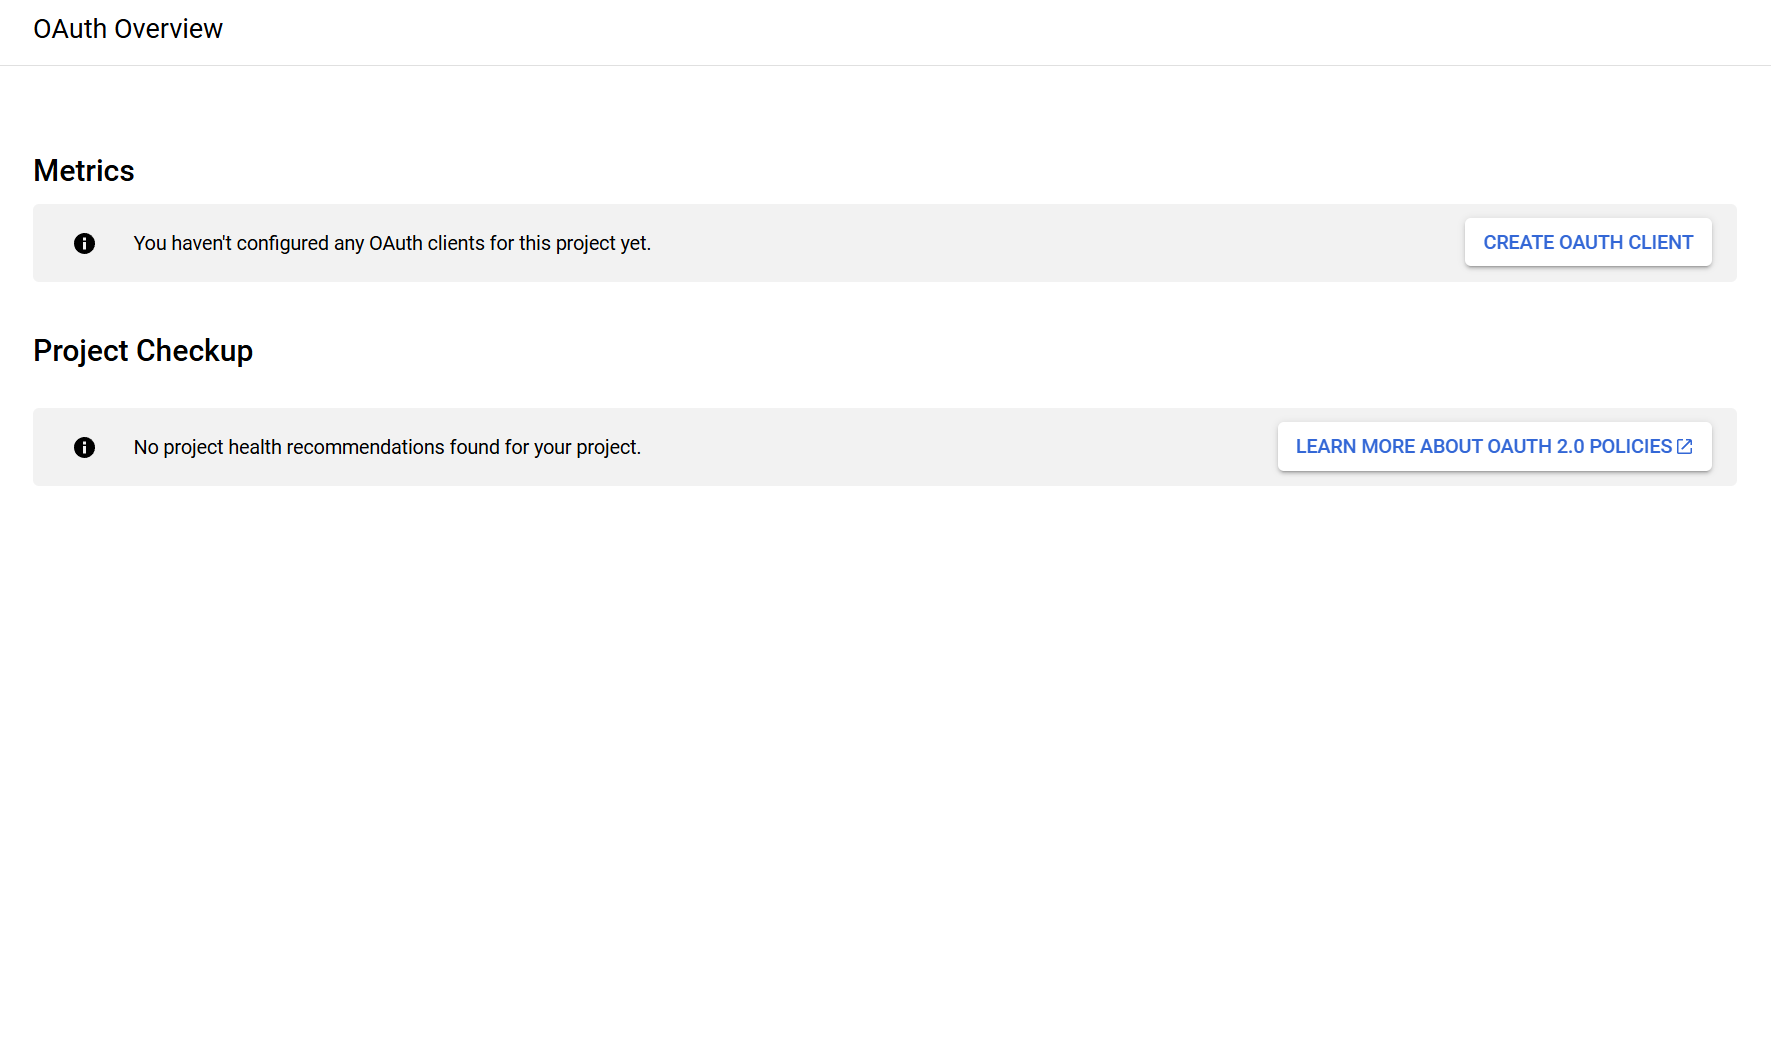
In this screen click Create OAuth Client.
INFO
You may see a warning saying that you haven't configured your OAuth Consent Screen, if you see this warning just refresh the page a couple of times and it should let you create your client.
For application type select web application.
If you like you can give it another name rather than Web Client 1 which is the default.
For Authorized Redirect URIs click Add URI and fill in your domain alongside with the /api/oauth/callback/google suffix (e.g. https://tinyauth.example.com/api/oauth/callback/google).
Finally click create.
After your application gets created you should have a screen like this:

Click your client (e.g. Web Client 1) and copy your Client ID and Client secret shown in the Additional Information section and that's it! We are done with the Google Cloud Console and we can now configure tinyauth.
Configure Tinyauth
Now that we have our client ID and secret, we can pass it to the tinyauth docker container:
tinyauth:
  container_name: tinyauth
  image: ghcr.io/steveiliop56/tinyauth:latest
  environment:
    - SECRET=some-random-32-chars-string
    - APP_URL=https://tinyauth.example.com
    - USERS=your-email-password-hash
    - GOOGLE_CLIENT_ID=your-google-client-id
    - GOOGLE_CLIENT_SECRET=your-google-secret
  labels:
    traefik.enable: true
    traefik.http.routers.tinyauth.rule: Host(`tinyauth.example.com`)
    traefik.http.services.tinyauth.loadbalancer.server.port: 3000
    traefik.http.middlewares.tinyauth.forwardauth.address: http://tinyauth:3000/api/auth
WARNING
OAuth doesn't mean security, with the current setup everybody with a google account can login to tinyauth as a normal user. If you would like to limit which users can login with OAuth you can add the OAUTH_WHITELIST environment variable and allow only your email address to login. For more information check here
And we are done! After you restart your docker container and go to the tinyauth login screen, you should have an additional option to login with Google.